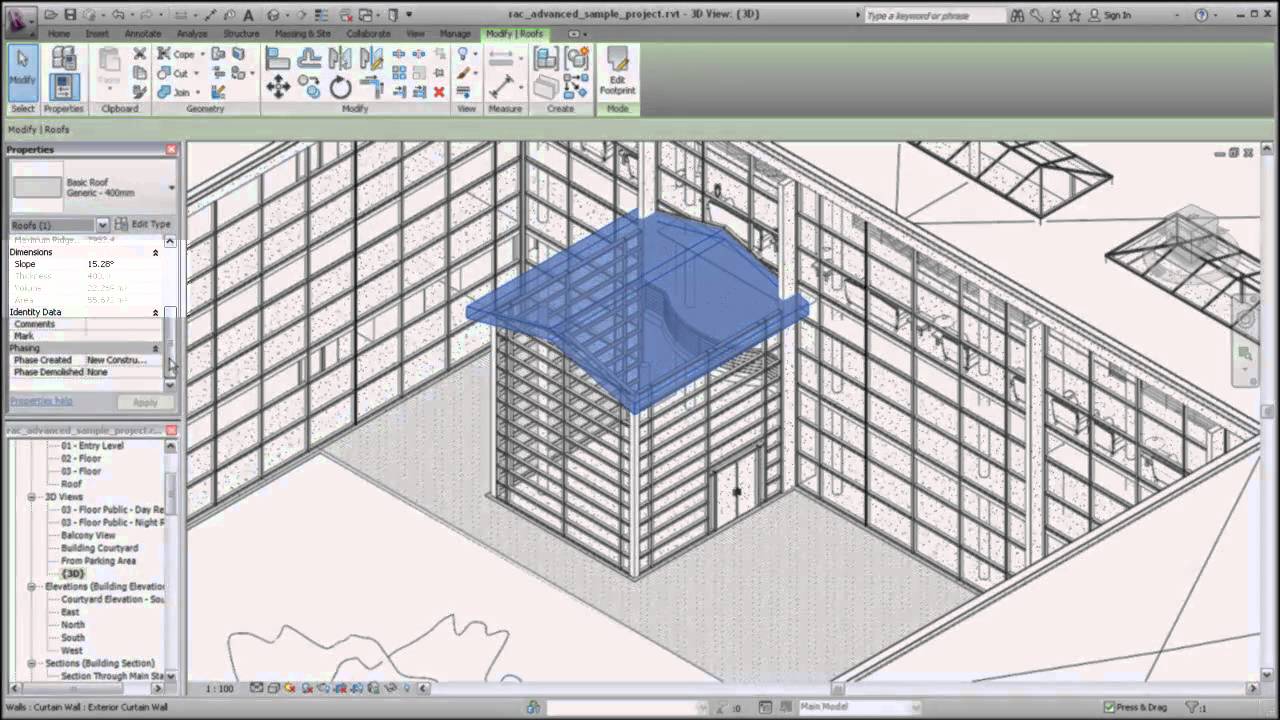
Multi Point Sloped Roof Revit

Revit Roof Basics 10 Slope Arrow Cadclips Youtube

Spanish Roof Tile In Revit With Download Link Revit Tutorial Roof Tiles Revit Architecture

Autodesk Revit Tutorials 14 Adding A Sloped Floor Autodesk Revit Revit Tutorial Autodesk

Revit 2018 Adding Trusses Using Revit Extensions Timber Roof Ads Roof Trusses

Revit Conceputal Massing 04 Wall Roof By Face Revit Tutorial Autodesk Revit Mass

Revit Structure Tutorial Filtering A Selection Lynda Com Revit Tutorial Tutorial Filters

8 set variable material for sloped insulation.
Multi point sloped roof revit.
Video Shape Editing Roof And Floor Slabs Revit Products 2019 Autodesk Knowledge Network

Exercise Con Imagenes

Revit Tutorials Roofs Youtube

Panels Optimization With Dynamo

About Editing Floor And Roof Shape Revit Products 2019 Autodesk Knowledge Network

Solved Roof That Slopes In 2 Directions Autodesk Community Revit Products

Create A Roof Slope Using Slope Arrows Revit Lt 2019 Autodesk Knowledge Network
Autodesk Revit Architecture Creating A Sloped Roof Youtube

Revit Tips Using Adaptive Component With Multi Surfaces In Revit 2013 Revit Tutorial Autodesk Revit Surface

Create A Sloped Ceiling Revit Products 2019 Autodesk Knowledge Network

Revit Tutorial True Solar Shadow Studies Youtube Building Information Modeling Revit Tutorial Ceiling Plan

Stranka Nebyla Nalezena Lenka Petrikova

2016 01 21 Revit Easier Way To Edit Cross Sloped Floors Youtube

Dynamo Spanish Roof Tile Generator

Create Roads And Kerbs With Railings In Revit 2018 Youtube Revit Tutorial Revit Architecture Autocad Revit

Bim Revit Adaptive Component 04a Modeling Tensile Fabric Structure L Canopy Youtube Fabric Structure Revit Tutorial Tensile Structures

63 Bim Revit 3d Organic Form 03 Tensile Structure Youtube Tensile Structures Structure Design Bim

Solved How To Attach Floor To A Sloped Mass Surface Autodesk Community Revit Products
Https Encrypted Tbn0 Gstatic Com Images Q Tbn 3aand9gcqt Jag1pa Hofhz 59fqg8i0feamtfelr0xlmsrdq6chiqvxbg Usqp Cau

This Revit Video Briefly Demonstrates How Dynamo Is Applied For Visualizing Levels Position And Building Information Modeling Revit Architecture Visualisation

About Slope Arrows Revit Products 2019 Autodesk Knowledge Network

Revit Architecture Tutorials For Beginners 4 Stairs Railings And Elevator Http Software Onwired Biz Software T Revit Tutorial Revit Architecture Tutorial

Flv Revit Mep Pluming Piping Flv Revit Tutorial Revit Architecture Autodesk Revit

Revit 3 3 Adaptive Panels Revit Tutorial Paneling Panel Curtains
Source : pinterest.com
